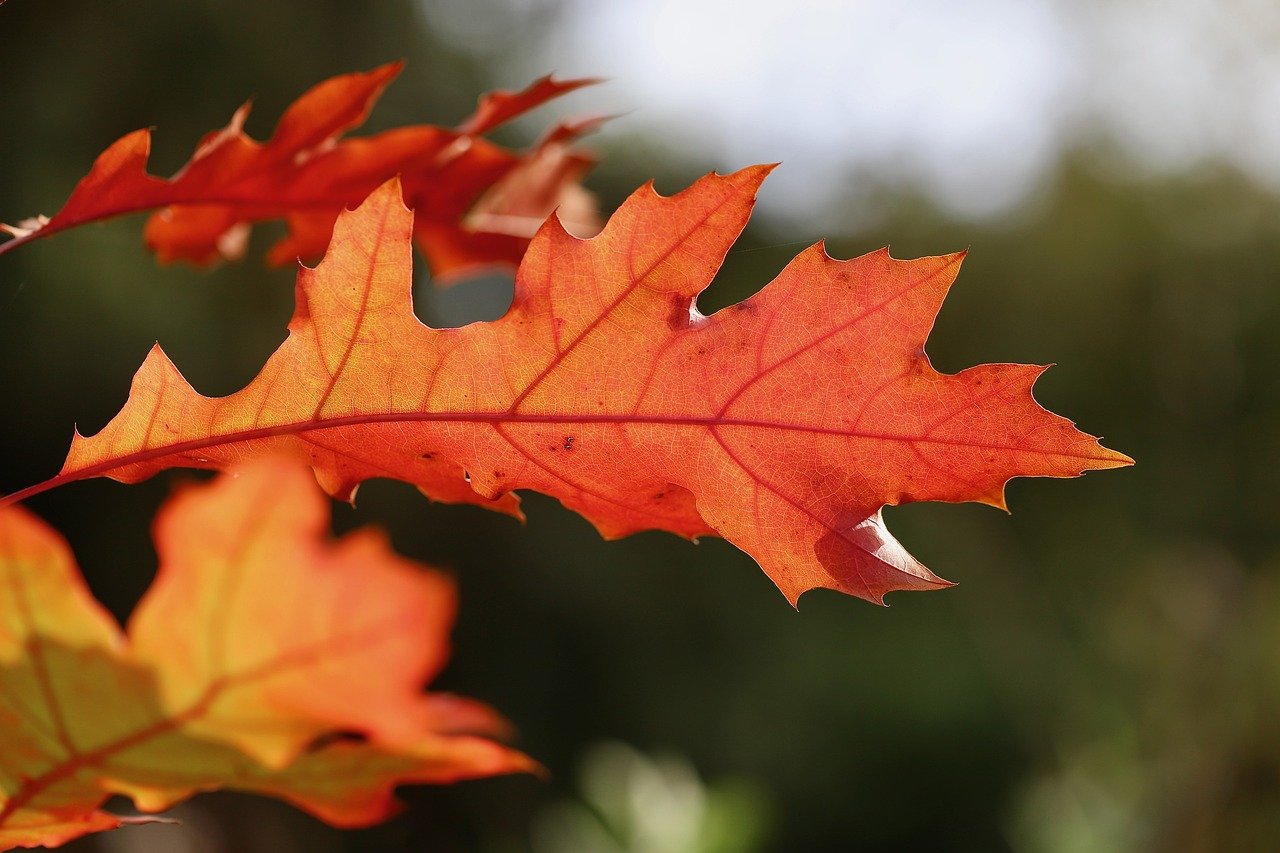
Step 1: Acorn Collection
- Timeframe: The collection of acorns is optimally conducted during the fall. This is a crucial period when red oaks naturally shed their acorns, an occurrence that aligns with the biological requirement for cold stratification—a process essential for the subsequent germination of the seeds.
- Identification: Discerning red oak acorns is pivotal. These can be identified by the pointed tips at the apex of each acorn, a distinctive feature that starkly contrasts with the rounded tips of the white oak acorn varieties.
- Location: Procurement of acorns should be from beneath mature red oak trees. It is imperative to target robust trees that exhibit signs of health and vigor to ensure the genetic quality of the acorns gathered.
Step 2: Water Test for Viability
- Procedure: The water test serves as an initial viability assessment. Acorns are submerged in water to segregate the potentially viable from the non-viable. It is typical for the viable acorns to descend and settle at the bottom of the container, whereas the ones that possess internal anomalies, such as larvae infestation or decay, exhibit buoyancy and float. Despite this general rule, it is acknowledged that exceptions exist wherein acorns that float may yet be viable.
- Selection: When precision in planting is paramount, and the objective is to cultivate a limited number of oaks with high certainty, one should select exclusively those acorns that submerge. Conversely, when the intention is mass plantation without stringent selection criteria, it is permissible, and possibly expedient, to bypass this test altogether.
Step 3: Stratification Process
The stratification process is essential for simulating the winter chill necessary for the germination of red oak acorns. This can be achieved through two methods:
Indoor Stratification:
- Materials Needed: Acorns, moist potting mix, plastic bag.
- Procedure:
- Encase the selected acorns in a moistened potting mix within a plastic bag.
- Place the bag in refrigeration, maintaining a consistent cold environment analogous to winter conditions for a period of approximately five months.
- Monitor for the emergence of sprouting roots, signifying the end of the stratification requirement and readiness for planting.
Outdoor Stratification:
- Materials Needed: Acorns, pot, potting mix, local soil (optional), protective mesh (optional).
- Procedure:
- Combine potting soil with local soil, if available, to enhance nutrient content and fill a pot with this mixture.
- Deposit the acorns into the soil, ensuring the pointed end is oriented upward, indicative of the acorn's natural position for growth.
- If necessary, overlay the pot with mesh wire to safeguard against wildlife, particularly squirrels, who may disturb the acorns.
- Position the pot in an external environment where it is exposed to natural winter elements, thus fulfilling the stratification needs.
Step 4: Planting After Stratification
Upon completion of the stratification process, the acorns are primed for planting, which should coincide with the advent of spring:
- Timing: Initiate planting early in the spring season following the stratification period.
- Soil Preparation: Formulate a planting medium composed of potting soil enriched with organic materials such as humus or compost, possibly supplemented with local soil such as clay to replicate the acorns' native planting conditions.
- Planting Technique:
- Exercise caution when handling the germinated acorn to avoid any damage to the fragile white root, a critical component of the acorn's growth.
- Ensure the continuity of the acorn cap's attachment to the root, as it remains a vital source of nutrients during the initial growth phase.
- Planting Depth:
- Gently insert the acorn into the prepared soil, situating the root in a downward trajectory.
- Cover the acorn minimally with soil, avoiding deep burial to facilitate ease of sprout emergence.
Step 5: Watering Post-Transplant
- Initial Watering: Once the acorns are planted, it is imperative to thoroughly irrigate the soil, re-establishing the moisture-rich environment akin to that which the acorns experienced within the stratification bag. This initial watering serves to alleviate transplant shock and encourage root establishment.
- Ongoing Watering: It is critical to persistently supply water to the newly planted acorns to maintain soil moisture. However, it is equally crucial to circumvent overwatering. The nascent saplings are particularly susceptible to the deleterious effects of excessive moisture, which can predispose them to root rot and other waterborne pathogens.
Step 6: Monitoring Growth
- Observation: Vigilant observation is required post-transplantation, with the anticipation of witnessing sprouts breaching the soil surface within approximately one and a half to two weeks.
- Leaf Development: Following the emergence of sprouts, the subsequent development of foliage is a natural progression. In the absence of growth within two and a half weeks, it is advisable to continue the regimen of monitoring and measured watering, providing the saplings with the requisite time to emerge.
Step 7: Continued Care and Transplanting
- Nurturing: The saplings demand ongoing nurturing as they mature. It is essential to ensure they are endowed with sufficient sunlight and regular hydration. The balance of care will foster robust growth and vitality.
- Transplanting: As the saplings burgeon and the confines of their initial containers become limiting, a critical step is to transition them to larger pots. This transplanting is necessary to accommodate their expanding root systems and to facilitate sustained growth, avoiding the potential impediment of their development.


